Finally after a few long crazy months of having a baby, packing up our house and moving back to my home town of Boise, I am back working on my art. I am making some new ornaments for my booth at the Holiday Market this year.

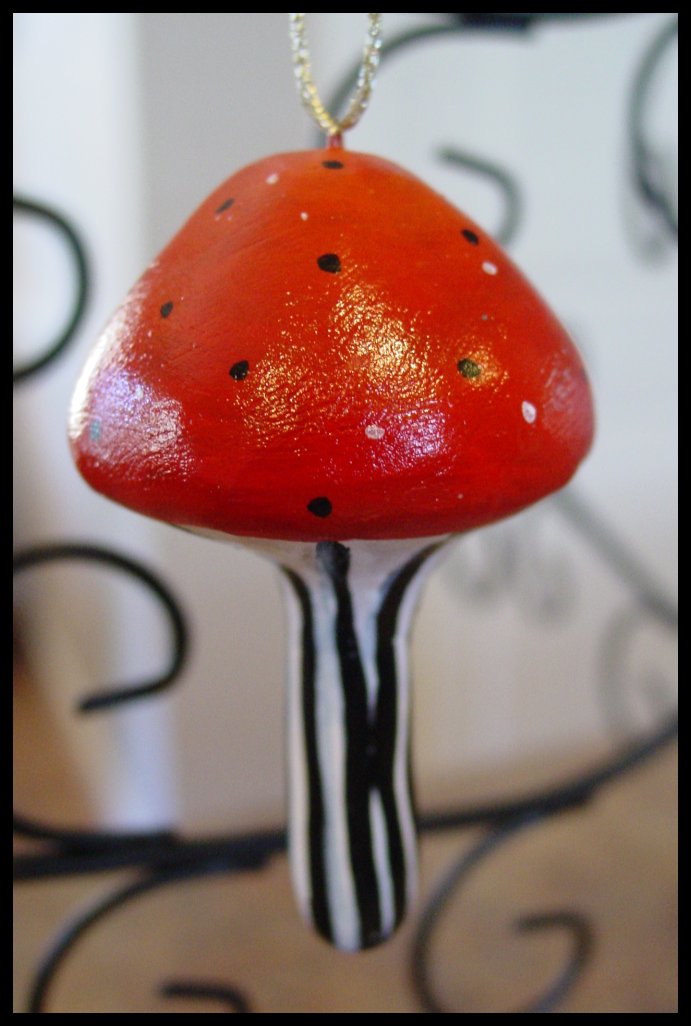
So I saw these great mushroom ornaments on Martha Stewart and I decided to make my own out of paperclay. First you need an armature so the clay has something to mold to, and that way its not a solid clay lump which would take a long time to dry, and also use more clay. I used a Styrofoam ball that I cut in half and cut into the desired dome shape. I also used a wooden dowel for the base part that I cut to the desired length and inserted it into the Styrofoam and then covered the whole thing with paperclay.

I love using paperclay, you can apply it piece by piece in a thin layer, then when it dries I sand it smooth and apply more clay where needed. Before it dries I put in a small ring on top to hang the string by. After the ornament is dried and sanded smooth I can paint it. I love this part, it is where the ornament comes to life. I did several styles for these mushrooms, some all painted and some with glitter.

This one is a lot more sparkly in person than in this photo.

The white glitter on the bottom of this mushroom is a velvet glitter. It is more of a mat type glitter, so not as sparkly.
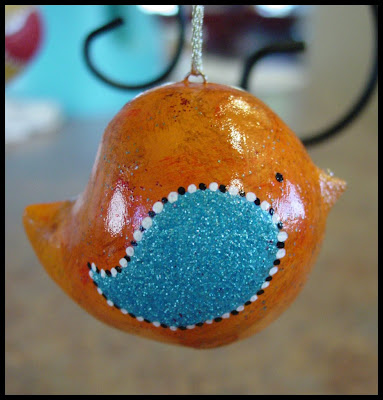
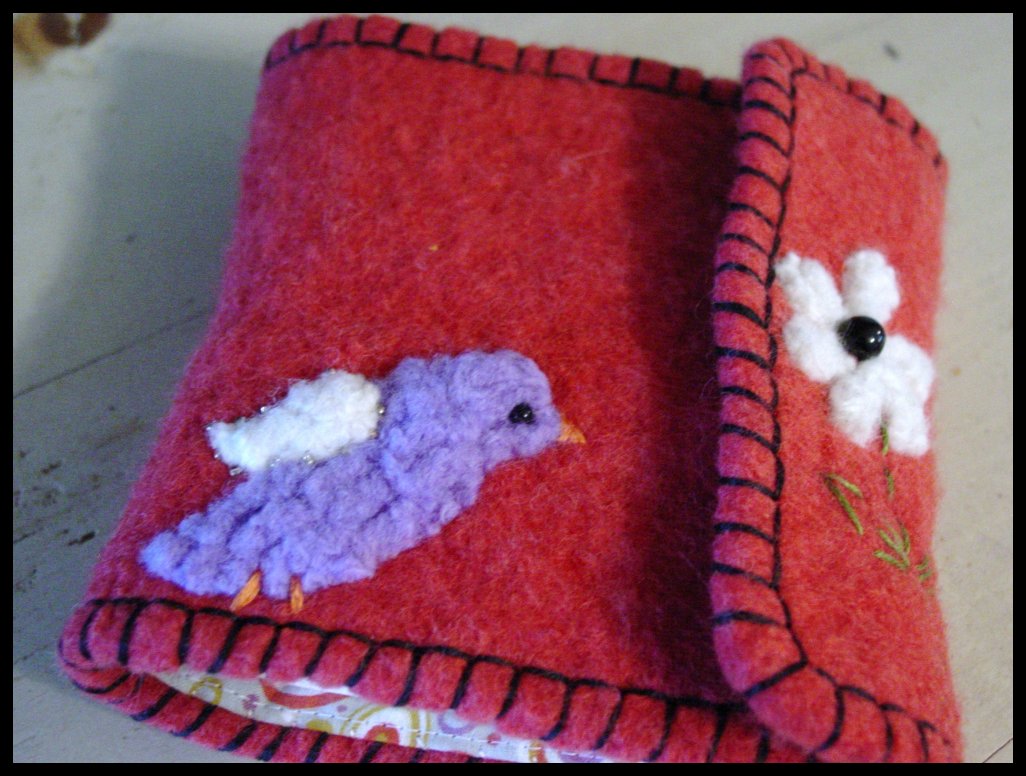
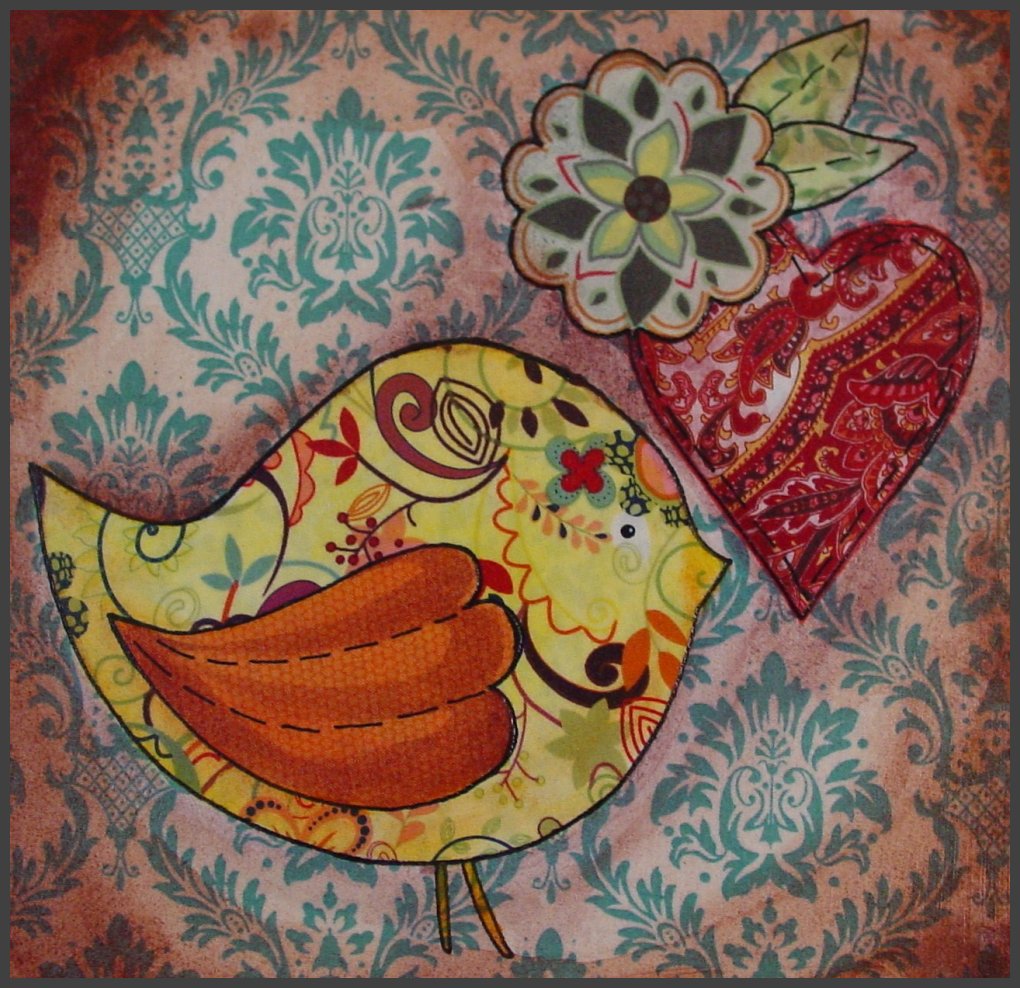
Of course I had to make some more birds. I used a Styrofoam egg shape then carved out the tail part. After the ornaments are all done I glaze them with a protective UV varnish which will help preserve them.
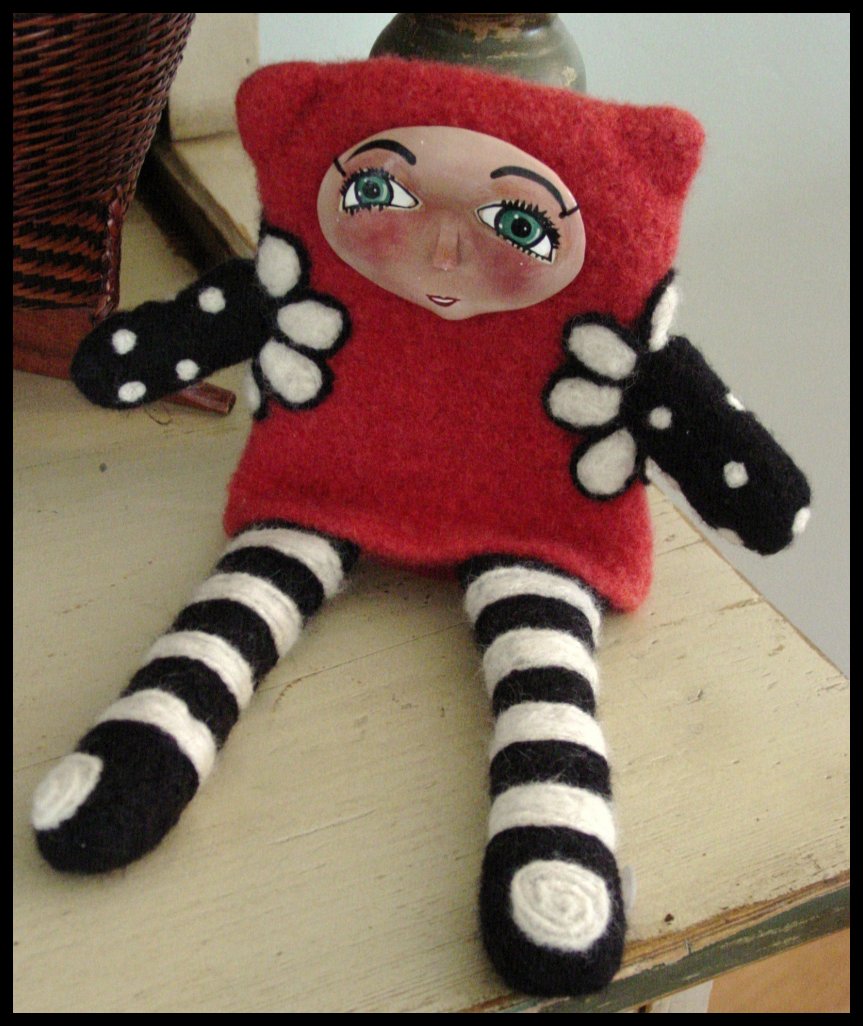
 A while ago I made a bunch of Art Dolls, and one of them was a mermaid. So this year, I decided to make some mermaid ornaments. They are much smaller than the doll mermaid, so details are harder to do, but I think they turned out pretty cute.
 I made some standing ones, as well as modified sitting ones. I used my original pattern I used for the doll, but shrunk it down to 40 percent. With the dolls and mermaids, they are made from muslin I sewed and stuffed, then painted. The arms are sculpted from polymer clay.